Home / All / Precision mechanical parts / Die steel, high speed steel (high hard steel) parts /
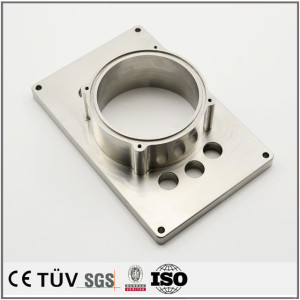
OEM made professional CNC milling machining die steel parts
OEM made professional CNC milling machining die steel parts
| Categories | Die steel, high speed steel (high hard steel) parts |
|---|---|
| Brand | HSH Machine Parts Processing Manufacturer |
| Model | CNC milling die steel parts |
| Material | die steel |
| Process | CNC machining |
| Service | OEM/ODM/Customized |
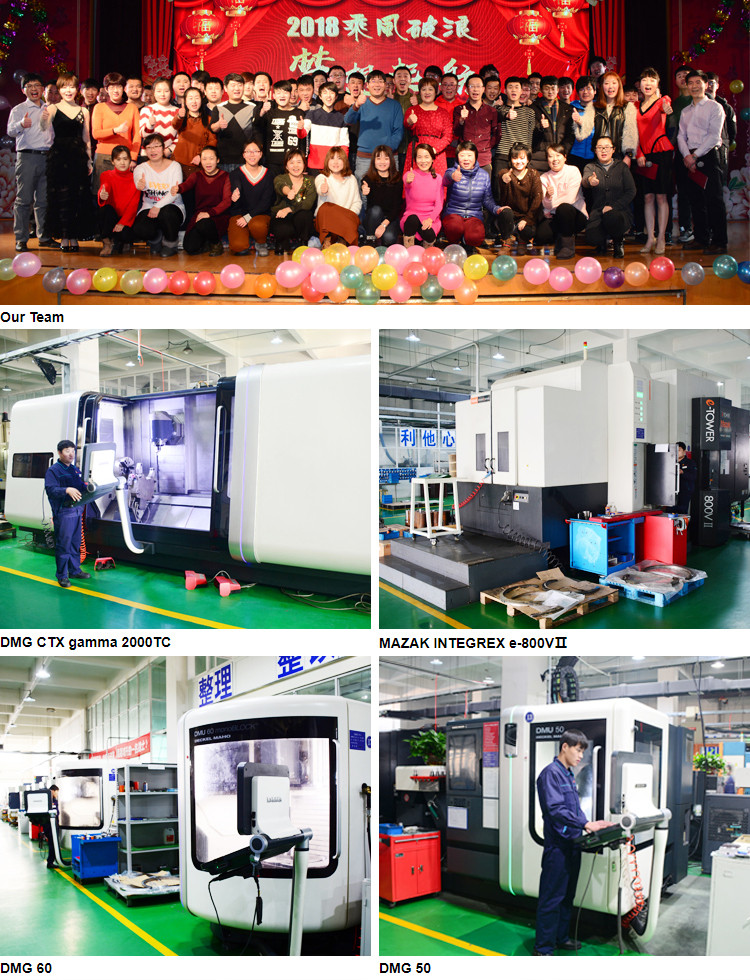
| Processing equipment | CNC lathe、Machining center |
| Update Time | Jan 23,2025 |
Detail Information
Our Company
Product Description
| Item Name | OEM made professional CNC milling machining die steel parts | |||||
| Quality Assurance | ISO9001:2008 Certified | |||||
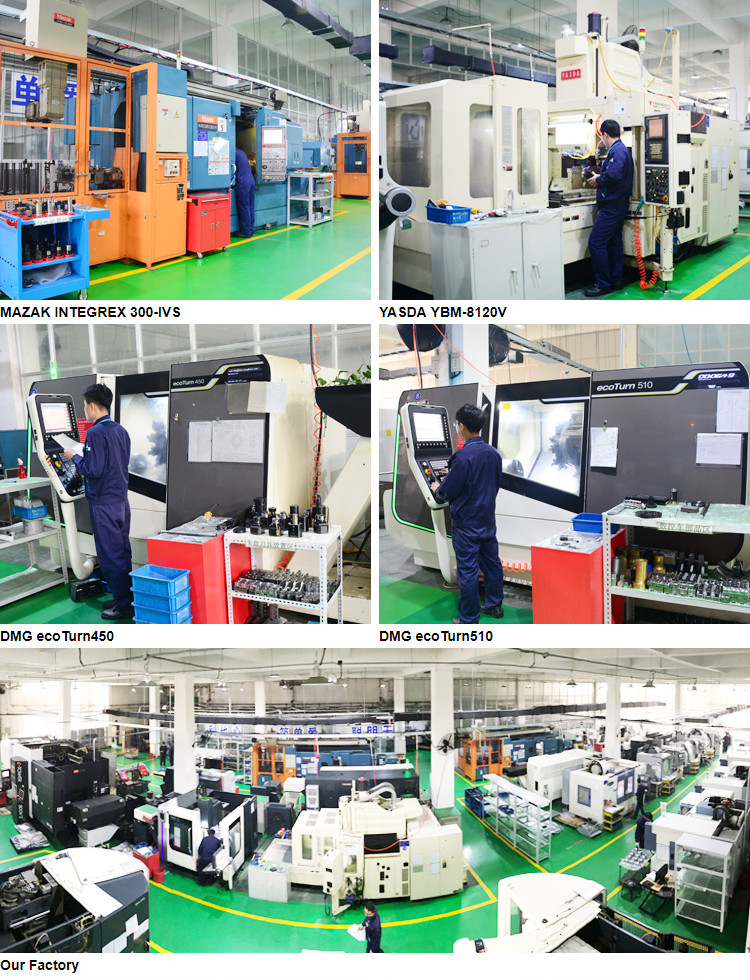
| Main Equipment | The capacity of equipment involve DMG 5-axis Machining centers, Mazak 5-axis machine,YASDA YBM-8120V,DMG CNC universal turning machines, 4-axis and 3-axis Machining centers, Sodick wire cutting machine, Mitutoyo CMM and etc. More than 40 high grade machining and testing equipment of all kinds. | |||||
| Materials | Aluminum Alloy: | |||||
| 5052 /6061/ 6063 / 2017 / 7075 / etc. | ||||||
| Brass Alloy: | ||||||
| 3602 / 2604 / H59 / H62 / etc. | ||||||
| Stainless Steel Alloy: | ||||||
| 303 / 304 / 316 / 412 / etc. | ||||||
| Steel Alloy: | ||||||
| Carbon Steel / Die Steel / Spring Steel etc. | ||||||
| Other Special Materials: | ||||||
| Lucite / Nylon / Bakelite / POM / ABS / PP / PC / PE / PEEK / Titanium etc. | ||||||
| We handle many other type of materials. Please contact us if your required material is not listed above. | ||||||
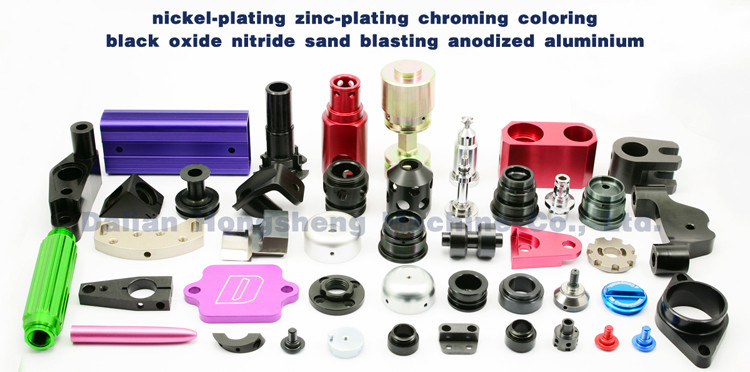
| Surface Treatment | Blacking,polishing,anodize,chrome plating,zinc plating,nickel plating,tinting | |||||
| Inspection | Mitutoyo three-coordinate measuring machine / Mitutoyo tool microscope/digimatic micrometer/inside micrometer/go-no go gauge/dialgage/ electronic digital display caliper/automatic height gauge/ precision level 2 detector/precision block gauge/00 levels of marble platform/ring gauge | |||||
| File Formats | The production drawings can be sent in CAD, DXF, STEP, IGES, x_t and other formats, supporting the use of CAD, Soildwork UG ProE and other softwares. | |||||
| Enterprise certification | 14 national patents: The waste recovery patent The circuit welding patent The waste recovery patentThe leakproof patentThe power patent The fixed device patent The laser engraving patentThe jig patentThe top plate patentThe oil water separation patent | |||||
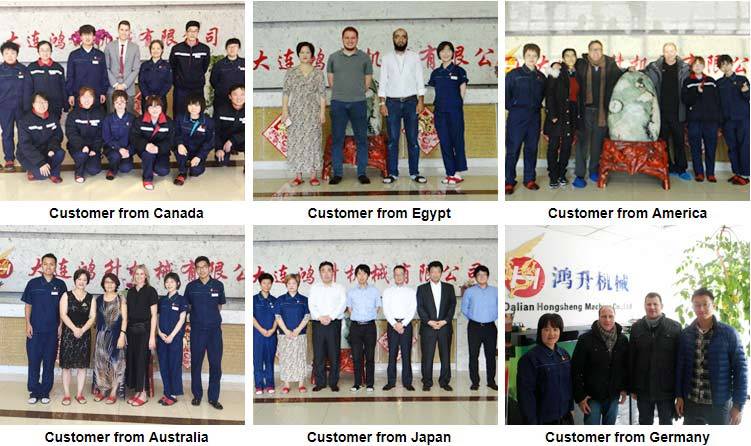
| Customer distribution | Thank you for your attention. Our clients are mainly in Japan, Germany, USA, UK, Canada, Sweden and FinlandLAN, Belgium, Australia, Russia, India, Turkey, Austria, Netherlands, Portugal, Spain, Switzerland,Denmark, Norway, New Zealand, Malaysia, Egypt, Peru, Mexico, Singapore, Saudi Arabia, Mauritius,Peru, Zambia, el Salvador, Israel and more than 40 countries and regions). Japan accounts for 70 percent of the market, Europe and the United States account for15%, others 15% | |||||
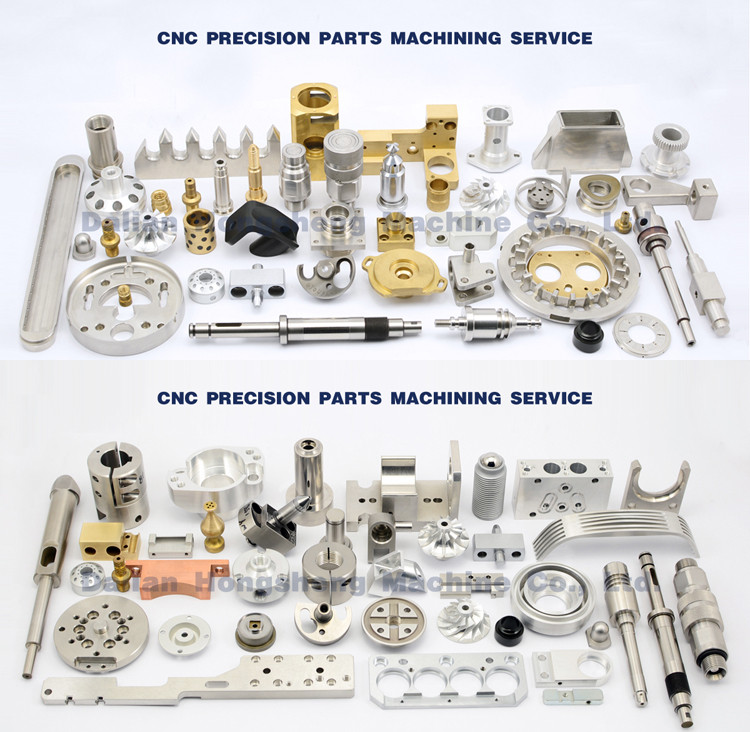
Machining Parts Show
Company Information
1. Small details make big difference. We promise:All the parts from our company have no sh-arp edge. Holes and screw holes are chamfered for convenient assembly (Under no indication). Every product will be carefully packed to prevent the bump and rust in transit .
2. The craftsmanship of all parts we machined is controlled rigorously, Every product has its own process card and process chart.
3. Our quality inspection procedure is quite strict.it must self-inspected during production, we have flow inspectors and professional inspectors.
4. Each size of product must be tested one to one after completing production and provide quality report.
5. We not only have the world of high-end DMG five-axis linkage machining center, the five-axis linkage turning compound double spindle machining center, compound turning machine, but also have more than 30 sets of processing machines from Japanese and Taiwanese brands. Our testing equipment are imported from Japanese brand Mitutoyo, such as high-end automatic three coordinate measuring machine, the two coordinate measuring machine, high-quality height gauge and roughness measurement etc.
6. The most important point, we are the entity factory, not trading company. Price is the composition of the actual product quality price. Quality can guarantee more controllable higher than trading company. The price is lower, at least reducing the trade company's service fee.
7. We are a combination of production and trade, industry and trade integration business. So far there are 13 traders for Japanese and European market
8. Because we are more close to our factory, we can understand the actual situation of our factory, we are more professional ,more reasonable and more accurate than trade company. And our language ability is also diversified. We can communication Japanese, English and Russian.
9. We have a good enterprise culture with various professional training programs, early meeting every day to share our work experiences to grown up together happily. We have a great ability to development in the company.
10. There are around 80 staff in our team, everyone has their dream in our company. All of us hold birthday celebration, celebrating Mother's and Father's Day , traveling together. The company respects every employee, when Women's Day coming, we got the beautiful flowers and wishes from brothers. Happiness and care surrounding us since we live here, feeling extremely happy !
Detection equipment
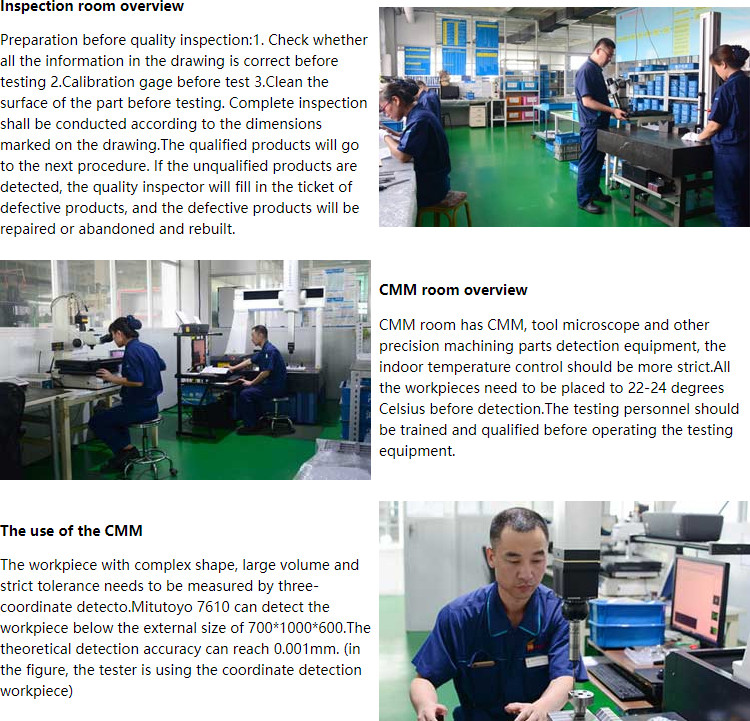
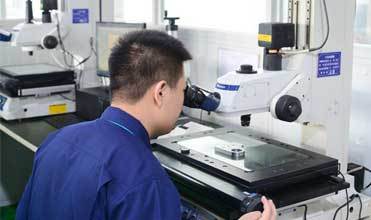 | The use of Tool Microscope Making smaller, customized service workpieces, dimensional measurements are usually made on a 2D plane. For example, measuring the aperture and hole spacing with the size of around φ1mm, the position where the gauge can not touched, and the relatively weak measurement contact surface. The product local details can be enlarged by using the tool microscope for an accurate measurements. |
The use of CMM Multi-Joint Arm Measurements are made for workpieces that are inconvenient to move, or for workpieces that are not being reassembled on the equipment. When there is a similar product, the measuring arm can be moved and used as long as it is fixed on a stable surface and calibrated. The function is similar to the three-coordinate detector, but it is more flexible. | 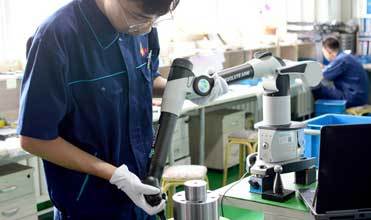 |
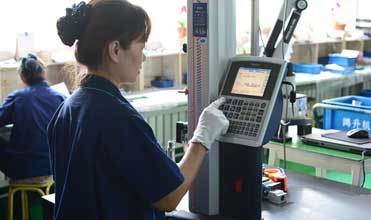 | The use of high precision automatic measuring machine Common tools for inspection and final inspection, easy to operate.Taking the marble platform as the benchmark,It is usually used to measure the height of the workpiece, the overall dimensions, the dimensions between the surface and the surface, and the dimensions between the center and the surface.The precision is about 0.005-0.01mm. |
Rockwell hardness tester Hardness testing is an important part of product testing. According to the customer's processing requirements, if the product need to heat treatment.We will arrange the heat treatment outsourcing factory for processing.The products after heat treatment should be sent to the quality inspection room for hardness test.The next step of the process can not be carried out until the product is qualified. (in the figure, the quality inspector is testing the hardness.) | 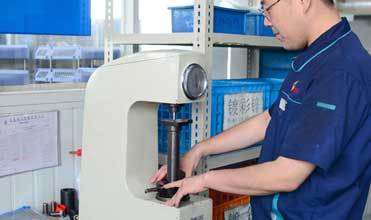 |
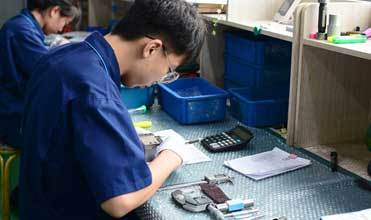 | The use of Ordinary Measuring Implement The most common test method at work. The measuring tool includes a micrometer, an inner diameter micrometer, a digital caliper, a depth gauge, a through stop gauge, a feeler gauge, a gauge block, and the like. After the test personnel get the product to be inspected, they will conduct a full inspection according to the requirements of the drawings. After the test is passed, they will be covered with their own name. Finally, the inspection drawings with the name of the inspector will be delivered to the customer with the product in order to trace the quality of the product. |
Packaging & Shipping
Shipping Express: DHL/UPS/FEDEX/TNT/OCS, and more.
Packaging Details:
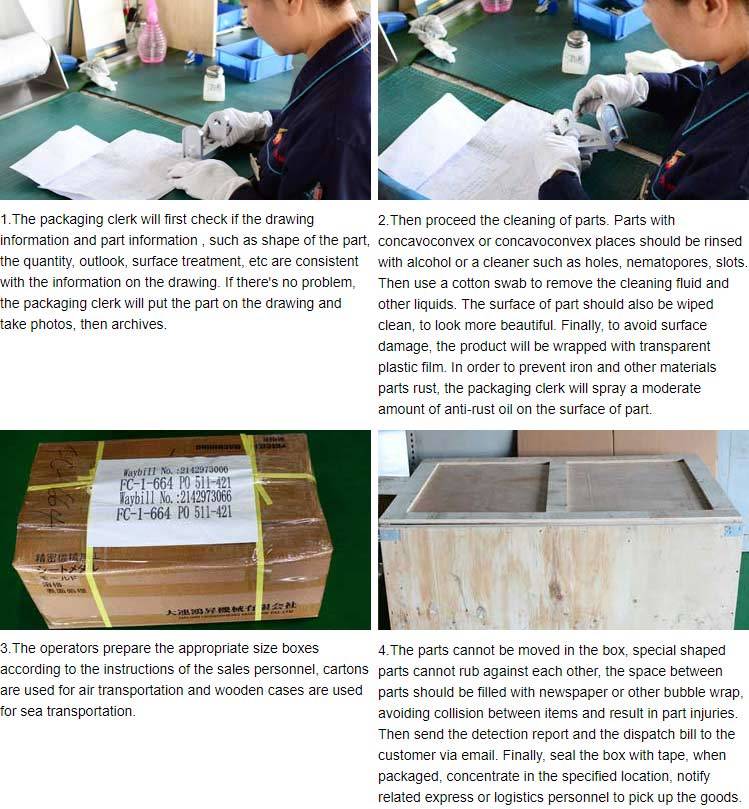
1,warp them in packaging foam
2,To be packed in cartons.
3,Use glues tape to seal cartons.
4,DHL/UPS/FEDEX/TNT/OCS are shipped by default. If the customer has demand,
We can also choose express delivery according to customers' requirements
1,warp them in packaging foam
2,To be packed in cartons.
3,Use glues tape to seal cartons.
4,DHL/UPS/FEDEX/TNT/OCS are shipped by default. If the customer has demand,
We can also choose express delivery according to customers' requirements
Generally, it takes 3 days to send the express to Japan, and 4-5 days to Europe and America.
This is mainly for small pieces (within 300kg).
For large parts, we will use air or sea transportation according to customers' requirements.
Generally, it takes 4-5 days to ship to Japan by air and 7-10 days to ship by sea.
It takes 7-10 days to ship the goods by air in Europe and America,
and 15-20 days to ship the goods by sea.

Visited customer
FAQ
Q: Where can I get the product information and price information?
A: Please send us an email, we will contact you as soon as we receive your email.
Q: How long can we get samples in a general way ?
A: It depends on your project, usually 10-20 days can deliver.
Q: How to enjoy OEM service?
A: Generally speaking, we refer to your drawings or original samples, offer some techniques, suggestions and quotations to you. We will produce for you after you agree. we produce the drawing with your approval.
Q: What's kinds of information you need for quote?
A: The production drawings can be sent in CAD, DXF, STEP, IGES, x_t and other formats, supporting the use of CAD, Soildwork UG ProE and other softwares.
Related Products
Please send your message to us
- Tel
- *Title
- *Content
write to us
Please send your message to us
- Tel
- *Title
- *Content
MOBILE WEB

Contact us
Hongsheng provides customers with high quality, professional machining services, welcome to contact us at any time!
subscription
Contact Person
- Tel:
86-411-87516616-828
- Email:
- hongsheng@dlhshjx.cn
- Address:
- 19-2, Liaoning Street, Jinpu New District, Dalian City, Liaoning Province, China.
